The Tools Every Beginner Should Own (And How to Use Them)
The short answer: about 20 well-chosen hand tools handle 90% of home repairs and DIY projects — a quality hammer, tape measure, screwdriver set, adjustable wrench, pliers, utility knife, level, and a handful of others. Buy quality once instead of a 300-piece set; good hand tools outlive their owners.
Building Your Foundation for DIY Success
Let me take you back to when I started. I was standing in the tool aisle, completely overwhelmed, holding a $200 “complete” tool set in one hand and my phone (googling “what tools do I actually need”) in the other. I bought the set. Big mistake. Half those tools are still in their plastic wrapping 15 years later, while the ones I actually used wore out within a year.
Nobody selling tool sets will tell you this: you don’t need a garage full of tools to be capable. I handle about 90% of home repairs and DIY projects with just 20 hand tools. Twenty. The rest is marketing.
What you actually need is smart tool selection, not tool hoarding. Hand tools reward that approach in a way power tools can’t — no battery platforms, no model-year churn, no planned obsolescence. Buy quality once, maintain it, and the tool outlives you. I still use a hammer my grandfather bought in 1952. It works perfectly.
This guide is going to save you from the mistakes I made. We’ll cut through the marketing BS and focus on the hand tools that actually earn their place in your toolbox. I’ll show you exactly what to look for in terms of quality, give you specific recommendations across different budgets, and share the practical wisdom that only comes from years of actually using these tools.
The 20 tools we cover will take you from “can’t hang a picture” to “built my own deck.” No clutter, no waste, just capability.
Know Your Needs Before You Buy
Take five minutes to think about your actual projects before buying anything. The “perfect” toolbox for apartment repairs looks nothing like what a furniture builder needs.
Home repairs vs. building projects: Fixing things around the house requires versatile, grab-and-go tools. Building furniture or craft projects demands precision measuring and cutting tools. Most beginners lean toward maintenance—plan accordingly.
Your materials matter: Working mostly with wood? Invest in sharp chisels and good saws. Metal projects? Different story entirely. Most home DIYers need tools that handle wood, metal, and everything in between.
Space reality check: A dedicated workshop lets you spread out with larger tools and comprehensive collections. Apartment living demands compact, multipurpose tools with smart storage. Be honest about your space—workshop dreams don’t fit in closet reality.
Budget approach: You can either buy a solid foundation all at once or add tools as projects demand them. Both work. The first gives you readiness, the second spreads costs but might delay projects. Pick the approach that matches your finances and patience.
The Essential 20: Ranked by Priority
These tools are ranked by how often you’ll actually use them, not by some theoretical framework. We’ve split them into three tiers to help you prioritize purchases.
Tier 1: Buy These First (The Foundation Six)
Start here. These six tools handle 80% of common DIY tasks.
1. 16oz Claw Hammer
Your workhorse for driving nails, light demolition, and convincing stubborn parts to cooperate. A 16-ounce hammer balances power and control for most tasks.
Look for: Forged steel head, solid attachment to handle (one-piece steel eliminates this concern entirely), comfortable grip, smooth face for finish work.
Quality check: One-piece construction or clearly visible forging marks on the head, balanced feel when you swing it, handle that fits your hand comfortably.
2. 25-Foot Tape Measure
Measure twice, cut once only works if your tape measure is accurate. A 25-foot tape handles most projects while staying compact enough for your toolbox.
Look for: Wide blade that stands out longer (crucial when measuring alone), clear markings, secure blade lock, durable case that survives drops.
Quality check: Markings that won’t fade after a few months, smooth retraction, hook that stays attached and measures accurately both inside and outside.
3. Multi-Bit Screwdriver
Screws are everywhere. A quality multi-bit driver covers most sizes without the bulk of a full set.
Look for: Phillips #1, #2, #3 and flat-head 1/8”, 3/16”, 1/4”, comfortable handle with good grip, magnetic tips help (but aren’t critical).
Quality check: Bits fit screw heads snugly without slop, handle feels solid in your palm, tips show precise manufacturing without rough edges.
4. Utility Knife
From opening boxes to scribing drywall to sharpening pencils—you’ll use this constantly. Buy one with a secure blade lock and you’re set.
Look for: Metal body (plastic breaks), secure blade lock at multiple positions, tool-free blade changes, onboard blade storage.
Quality check: Blade extends and retracts smoothly, locks solidly with no wiggle, feels substantial in your hand.
5. Adjustable Wrench (8-inch)
One wrench that fits multiple bolt sizes. An 8-inch size handles most household fasteners without being too big for tight spaces.
Look for: Minimal jaw play when adjusted, smooth worm gear, comfortable handle length, clear size markings.
Quality check: Forged construction (stronger than cast), precision-cut jaw teeth, chrome plating, jaws that don’t flex under pressure.
6. Combination Square (12-inch)
Essential for marking 90-degree and 45-degree angles, checking if things are actually square, and measuring depths. One of the most versatile layout tools.
Look for: Accurate 90 and 45-degree edges, blade that slides smoothly but locks securely, clear permanent markings, integrated level vial helps.
Quality check: Actually square when checked against a known reference, smooth blade adjustment, markings that won’t wear off.
Tier 2: High-Frequency Tools (Add These Next)
Once you have the foundation, these seven tools expand your capabilities significantly.
7. Hand Saw (26-inch, Universal Tooth Pattern)
Power tools are great until you need to make a quick cut and don’t want to drag out the circular saw. A sharp hand saw gets the job done.
Look for: 7-8 teeth per inch for general use, sharp teeth at purchase, comfortable handle, rigid blade.
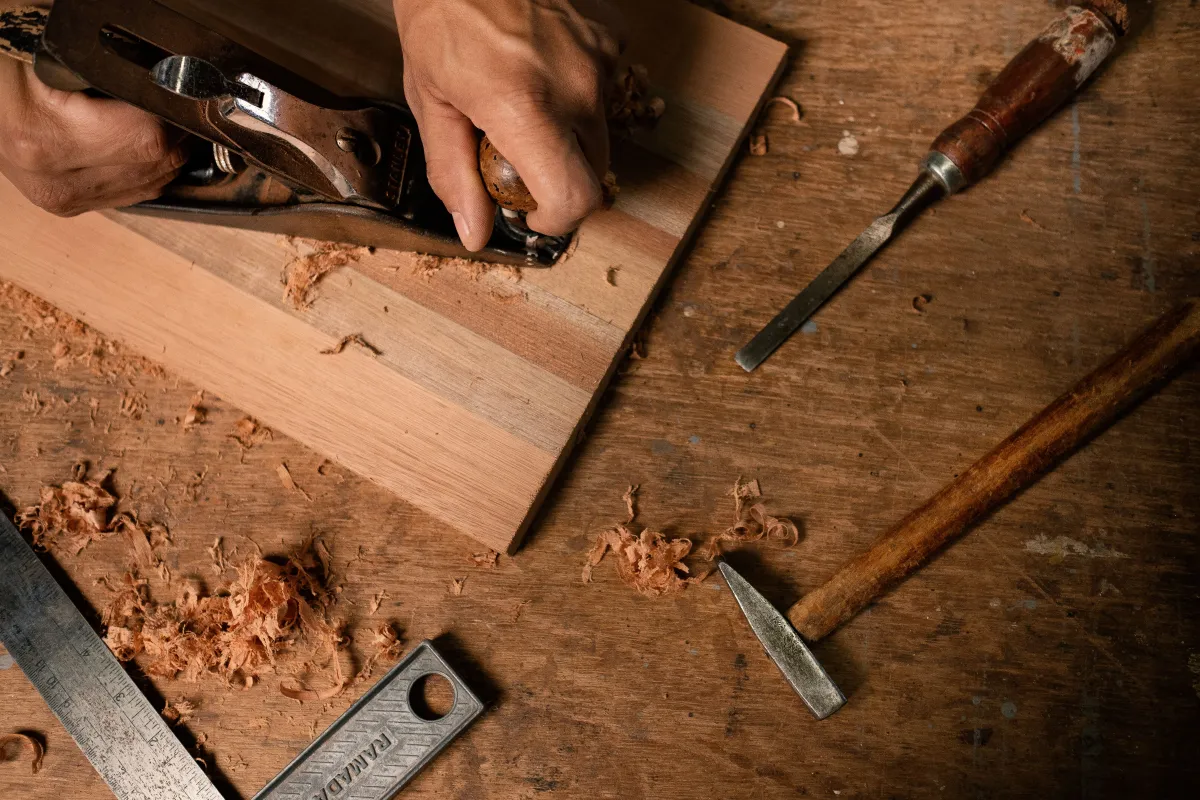
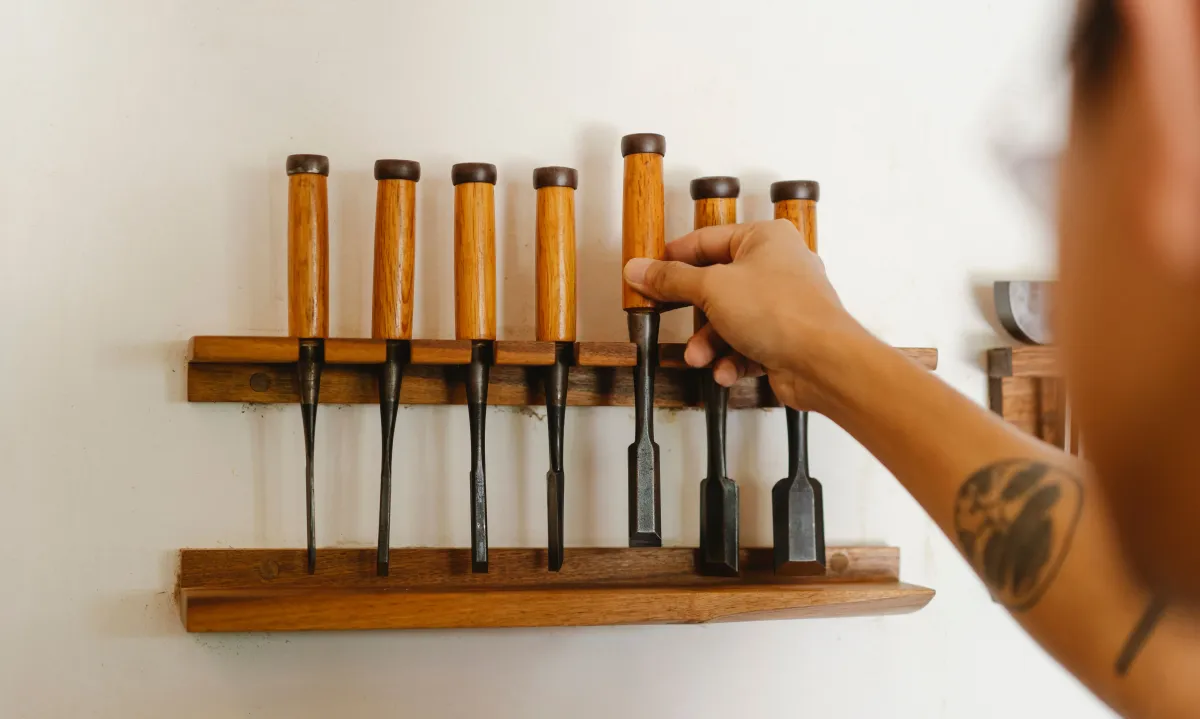
8. Chisel Set (4-piece: 1/4”, 1/2”, 3/4”, 1”)
For cleaning joints, removing wood precisely, and mortising. These four sizes cover most applications.
Look for: High-carbon or chrome vanadium steel, flat backs (critical for accuracy), handles that can take mallet strikes, sharp bevels.
9. Block Plane
Smoothing edges, fitting doors, chamfering corners—a block plane does detail work that sandpaper can’t match.
Look for: Low angle (around 12 degrees), adjustable mouth, secure blade adjustment, comfortable one-handed size, quality blade steel.
10. Pliers Set (Combination, Needle-Nose, Diagonal Cutters)
These three cover gripping, reaching into tight spaces, and cutting wire. Essential for electrical work and repairs.
Look for: Smooth jaw operation, hardened cutting edges, comfortable handles, minimal play at the joint, induction-hardened jaws.
11. Torpedo Level (9-inch)
For hanging pictures straight and checking if shelves are actually level. A 9-inch torpedo level fits in your toolbox and does the job.
Look for: Clear vials, horizontal and vertical readings, accurate against a known level surface, durable construction, magnetic base helps.
12. Hacksaw
For cutting metal, plastic, and pipes. Replaceable blades handle different materials.
Look for: Secure blade mounting with proper tension, comfortable handle, accommodates standard 12-inch blades, tool-free blade changes.
13. Socket Set (1/4” or 3/8” Drive)
Faster and easier than adjustable wrenches for bolts and nuts. Ratcheting action speeds up assembly and repair work.
Look for: Both SAE and metric sizes, fine-tooth ratchet (works in tighter spaces), chrome vanadium steel, organized storage case.
Tier 3: Project-Specific Tools (Buy When Needed)
These seven tools support specific projects. Buy them when your work demands them.
14. Pry Bar Set - For demolition and nail removal
15. Stud Finder - For locating framing behind walls
16. Clamp Set - For holding assemblies during gluing
17. File Set - For smoothing metal and shaping materials
18. Nail Set - For recessing nail heads in finish work
19. Wire Strippers - For electrical projects
20. Dead Blow Hammer - For assembly work without marring surfaces
Where to Invest and Where to Save
Not every tool needs premium pricing. Here’s how to spend smart.
Go premium on: Measuring tools (accuracy matters), cutting tools (better steel holds edges longer), and anything you’ll use weekly. A bad measurement wastes materials costing more than the price difference between cheap and quality tools.
Save money on: Basic fastening tools, specialty items you’ll rarely use, and consumables. Mid-range screwdrivers and wrenches work fine for DIY projects.
The sweet spot: Mid-range brands like Stanley, Irwin, Craftsman, and Channellock offer proven designs and solid materials at reasonable prices. You get tools that work without paying for premium refinements you may not need yet.
Upgrade to premium when you’ve worn out your mid-range tools through heavy use. Experience teaches you which refinements actually matter for your work.
Understanding Tool Materials
Steel types: High-carbon steel holds sharp edges (chisels, plane blades). Chrome vanadium offers toughness for wrenches and sockets. Stainless resists rust but stays softer.
Handle materials: Hardwood offers warmth and shock absorption. Fiberglass is virtually indestructible. One-piece steel with grip combines durability with comfort.
Coatings: Chrome plating prevents rust. Powder coating resists chipping. Black oxide reduces glare but needs oil.
Safety Basics
Hand tools seem safer than power tools, but accidents still happen.
Personal protection: Safety glasses for striking or cutting. Work gloves for splinters and sharp edges (remove around rotating machinery). Hearing protection for repetitive striking. Dust masks for sanding and sawing.
Tool rules: Cut away from your body. Keep free hand clear of blades. Secure work before cutting—never hold it with your other hand. Sharp tools are safer than dull ones (they require less force and don’t slip).
Workshop setup: Good lighting prevents mistakes. Stable work surfaces keep materials from moving. Organization prevents tripping. Keep a first aid kit handy.
Common Mistakes to Avoid (I’ve Made Them All)
Let me save you some pain and money by sharing the mistakes I learned from the hard way:
Buying “Complete” Sets: This was my first mistake, remember? Here’s why sets are usually a bad deal: they pack in tools you’ll never touch (when’s the last time you needed a 13mm socket?) while skimping on the ones you’ll use daily. I bought a 200-piece set and use maybe 30 pieces regularly. Buy what you actually need, when you need it.
Using the Wrong Tool for the Job: We’ve all done it. Using pliers as a wrench because the wrench is in the garage and you’re on a ladder. Using a screwdriver as a pry bar because “it’s right here.” Here’s what happens: you damage the tool, risk injury, and probably mess up whatever you’re working on. I once used a good chisel as a prybar and broke the tip clean off. Forty dollars down the drain because I was too lazy to get the right tool.
The “I’ll Sharpen It Later” Trap: Dull tools are dangerous tools. A dull blade requires more force, which means less control, which leads to slips and injuries. I learned this with a utility knife—pushed too hard on a dull blade, it slipped, and I needed stitches. Fifteen seconds to change the blade would have prevented that. Sharpen and maintain your tools regularly. It’s not optional.
Storage Chaos: When your tools are bouncing around loose in a drawer, three things happen: the cutting edges get damaged, you waste time searching for stuff, and you’ll probably just leave tools scattered around because putting them away is too annoying. Start with simple organization—even a $10 toolbox is better than a junk drawer—and stick with the system.
Pro Tip: The “one in, one out” rule. Before you leave a project, put at least one tool away. This prevents the tool explosion that makes cleanup feel overwhelming.
Basic Maintenance
After each use: Wipe off sawdust and debris. Light oil film on steel prevents rust.
Dealing with rust: Light surface rust responds to steel wool and oil. Catch it early before pitting starts.
Keep edges sharp: Sharp tools cut with less force and give better control. Learn basic sharpening with a combination stone and honing guide.
Handle care: Oil wood handles occasionally. Check hammer heads for secure attachment. Replace cracked handles immediately.
Storage: Moderate temperature and humidity preserve tools. Use drawer organizers or wall-mounted pegboard. Protect cutting edges with guards or dedicated storage.
Building Your Collection
Start with the six Tier 1 essentials. Focus on quality from established brands within your budget. These handle basic projects while teaching fundamental skills.
Add Tier 2 tools as projects demand them. This ensures you buy tools you’ll actually use rather than accumulating unused items.
Upgrade through experience. Start with mid-range tools and upgrade when you recognize specific limitations or tools wear out.
Watch for sales: Holiday sales (Father’s Day, Christmas, Black Friday) offer significant savings.
Quality used tools: Vintage tools from manufacturers like Stanley, Disston, and Millers Falls often surpass modern budget tools.
Storage Solutions
Small spaces: Rolling toolbox combines storage and portability. Wall-mounted pegboard maximizes vertical space. Magnetic tool bars for frequently used items.
Drawer organization: Plastic organizers prevent tools from rolling around. Custom-cut foam provides premium organization at reasonable cost.
Long-term investment: A quality tool chest from Craftsman, Kobalt, or Husky grows with your collection and lasts decades.
Rust prevention: Silica gel packets control humidity in closed storage. VCI paper releases protective chemicals. Tool rolls protect chisels and carving tools.
Frequently Asked Questions
Complete set or individual tools? Both work. Sets offer convenience and lower cost but include unused items. Individual purchase allows customization but costs more initially. For beginners, a mid-range set provides immediate capability while you learn specific needs.
How much to spend? Budget $200-400 for the six Tier 1 essentials at mid-range brands. Add Tier 2 tools ($300-500) as projects demand. You’ll eventually invest $800-1200 in comprehensive collections, but spread purchases over time.
Are expensive tools worth it? Selectively. Measuring tools benefit from quality. Frequently used tools justify premium prices. Specialty tools don’t require premium investment initially—upgrade later if use justifies it.
How often do tools need maintenance? After each use: clean debris. Weekly: oil mechanisms, inspect for damage. Monthly: thorough cleaning, sharpen edges. Annually: comprehensive inspection and repairs. Well-maintained tools last generations.
Can I skip certain essentials? Customize based on actual needs. Apartment dwellers rarely need full-size saws. However, hammers, tape measures, and screwdrivers prove essential across virtually all situations.
Your Journey Starts Here
Here’s what’s going to happen when you start building your tool collection the right way:
First, you’ll feel more confident. Instead of calling someone (and paying $150) every time a drawer knob comes loose or a picture needs hanging, you’ll just handle it. That feeling? It’s addictive.
Then, you’ll start noticing things. “I could build that.” “I could fix that.” “That would be easy to modify.” Your home stops being this fixed thing you’re stuck with and becomes something you can actively improve and customize.
Finally—and this is my favorite part—you’ll develop actual skills. Not just “I watched a YouTube video” knowledge, but hands-on capability that builds with every project. There’s something deeply satisfying about creating and fixing things with your own hands.
Your First Step: Don’t try to buy everything at once. Start with just the six Tier 1 tools from established brands that fit your budget. Use them. Learn them. Let projects tell you what to add next. This approach ensures you’re building a collection based on real needs, not theoretical “what-ifs.”
The Quality Truth: I’m going to repeat this because it’s important—quality beats quantity every single time. Six reliable tools that work properly are infinitely more useful than 50 cheap tools that fail when you need them. Mid-range brands like Stanley, Irwin, and Craftsman offer excellent value. You’re getting proven designs and solid materials without paying for premium refinements you may not need yet.
Maintenance Matters: Take care of your tools and they’ll take care of you for decades. We’re talking simple stuff—wipe them down after use, keep them dry, sharpen when needed. Five minutes of maintenance can mean twenty years of service.
The Best Advice: Don’t wait until you have the “perfect” collection to start. Start with what you have and learn by doing. Each project teaches you something—what tools you actually need, what techniques work, what mistakes to avoid next time. That’s how you build real skills.
Remember: your tools are just the beginning. The real journey is discovering what you’re capable of creating with them. And trust me—you’re capable of way more than you think.
Now go build something.