A Workshop That Works: Organizing Your Tools So You Can Actually Find Them
The short answer: organize a workshop in zones — cutting, assembly, finishing, storage — with wall-mounted storage for daily tools, drawers for precision instruments, and labeled small-parts bins. The payoff is measurable: a disorganized shop costs the average user roughly 40 hours a year in searching time alone.
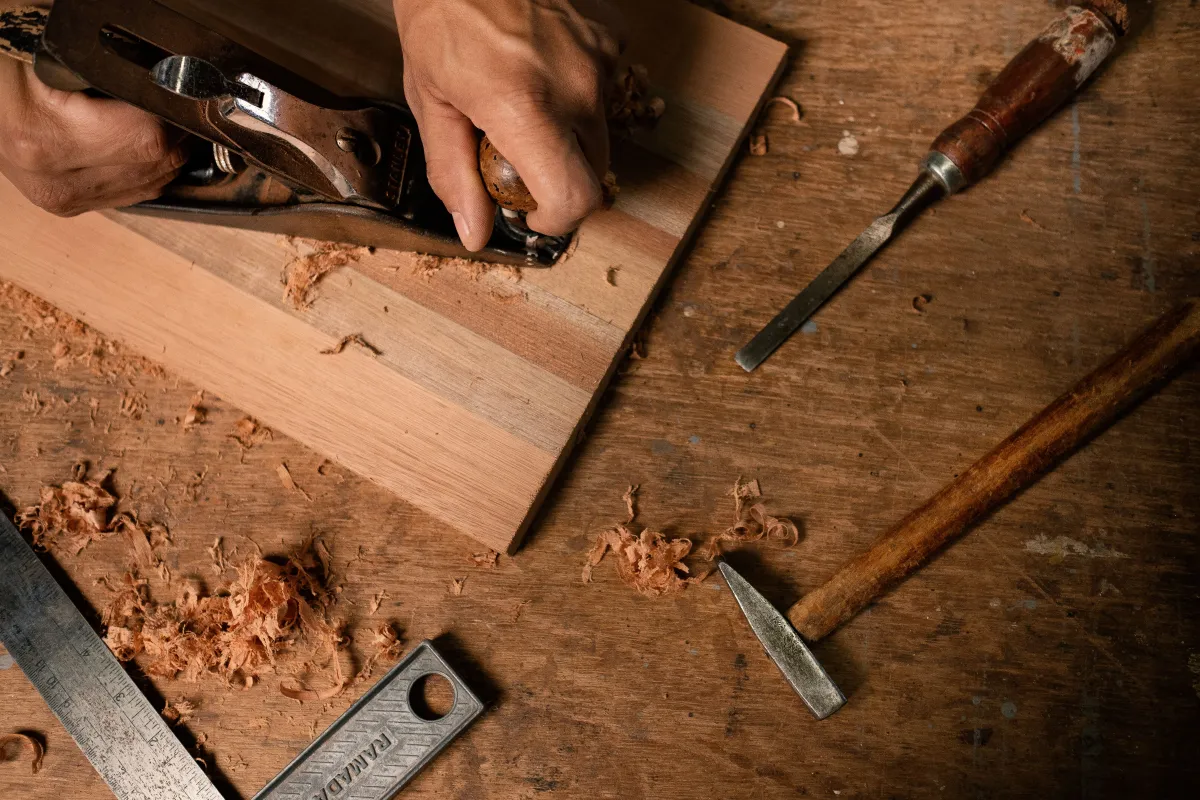
Let me paint you a picture of my workshop in 2012: tools scattered across every surface, screws and nails mixed together in coffee cans, extension cords tangled into impossible knots, and my “system” for finding things was basically wandering around muttering until I spotted what I needed.
One Saturday, I tracked my time. Forty-five minutes searching for tools. Forty. Five. Minutes. In a single session. I did the math—that’s nearly 40 hours a year, an entire work week, just… looking for stuff I owned.
That was my wake-up call.
Workshop organization isn’t about aesthetics, though a clean shop is satisfying. It isn’t about being obsessive either. It comes down to simple, brutal economics and safety:
- Every minute searching = a minute not building. Time is money, even for hobbyists. Your free time is valuable.
- Disorganized storage ruins tools. Cutting edges get nicked, measuring tools get knocked out of calibration, rust happens faster.
- Disorganized shops are dangerous. Most workshop accidents happen when you’re distracted, rushing, or tripping over clutter.
After completely reorganizing my shop (twice—I learned from the first attempt’s mistakes), my search time dropped by over 70%. Projects that took all weekend now finish in a few hours. I actually want to be in my workshop instead of dreading the chaos.
This guide shares what actually works after three decades of trial, error, and evolution.
The True Cost of Disorganization
Understanding the real price you pay is all the motivation you’ll need.
Time Waste: This isn’t just an annoyance; it’s a direct hit to your wallet. Studies show that 15-60 minutes are lost daily in unorganized shops. If you value your time at just $25/hour, that’s anywhere from $2,275 to $9,125 in lost productivity every single year. After I implemented my system, my search time dropped by over 70%.
Tool Damage: Disorganization is a slow-motion disaster for your tools.
Cutting edges get nicked and dulled when they’re piled in a drawer.
Measuring tools get knocked out of calibration.
Tools left on the floor or in humid corners develop rust.
Small, essential parts simply vanish.
Proper storage can extend the life of your collection by 40-60%. That’s money in your pocket.
Safety: The most common shop accidents are all rooted in disorganization. You trip over tools or cords on the floor. A tool falls from a precariously balanced shelf. You get cut on a blade that wasn’t properly stored. An organized shop is, by default, a dramatically safer shop.
Mental Benefits: This was the most surprising part for me. A clean, organized space eliminates the stress and psychological friction that kept me from starting projects. I stopped procrastinating because I actually wanted to be in my workshop.
Workshop Layout Principles
Before you buy a single bin, you have to get the layout right. Even the best storage systems will fail if the space is arranged poorly.
The Work Triangle
This isn’t just for kitchen design. Your workshop has three key zones:
Primary Work Surface (Your main workbench)
Power Tool Zone (Table saw, drill press, etc.)
Storage Zone (Your most-used tools)
These three points should form a tight triangle, minimizing the steps you take while still giving you room to work.
Clearance Requirements
Give yourself room to breathe and work.
You need at least 42-48 inches of clear space on the working side of your bench.
Your primary walkways should be 36 inches wide, minimum.
Don’t forget outfeed! I once had to completely redesign my shop because I only left 6 feet of outfeed for my table saw and couldn’t rip a full sheet of plywood.
Vertical Space Utilization
Your walls and ceiling are your most under-used assets. Any space above 7 feet is prime real estate for overhead lumber racks, seasonal tool storage, or things you rarely use. My 9-foot ceilings let me store 12-foot boards overhead, freeing up my entire floor.
Lighting Integration
You can’t organize, or work, if you can’t see. You need different light levels for different tasks:
General Shop: 50-75 foot-candles
Workbench Areas: 100-150 foot-candles
Precision Work: 200+ foot-candles
I learned the hard way that general overhead lighting just doesn’t cut it. You need bright, focused light exactly where the work is happening. Trying to follow a pencil line in your own shadow is the fastest way to get a sloppy, or dangerous, result.
Zone-Based Organization
The most effective system is simple: store tools at their precise point of use.
The Zone System
I divide my entire shop into functional zones:
- Hand Tool Zone (Around the workbench)
- Power Tool Zone (Accessories for those machines)
- Assembly Zone (Clamps, glues, squares)
- Material Storage (Lumber, hardware)
- Maintenance Zone (Sharpening, cleaning)
I even color-coded my zones with different pegboard colors and floor tape. It sounds like overkill, but it makes cleanup automatic.
The 30-Second Rule
This is my cardinal rule: I must be able to access any critical tool within 30 seconds of realizing I need it. This forces you to create “micro-zones” within your larger zones. My workbench alone has five distinct micro-zones, all within arm’s reach.
Wall Storage Solutions
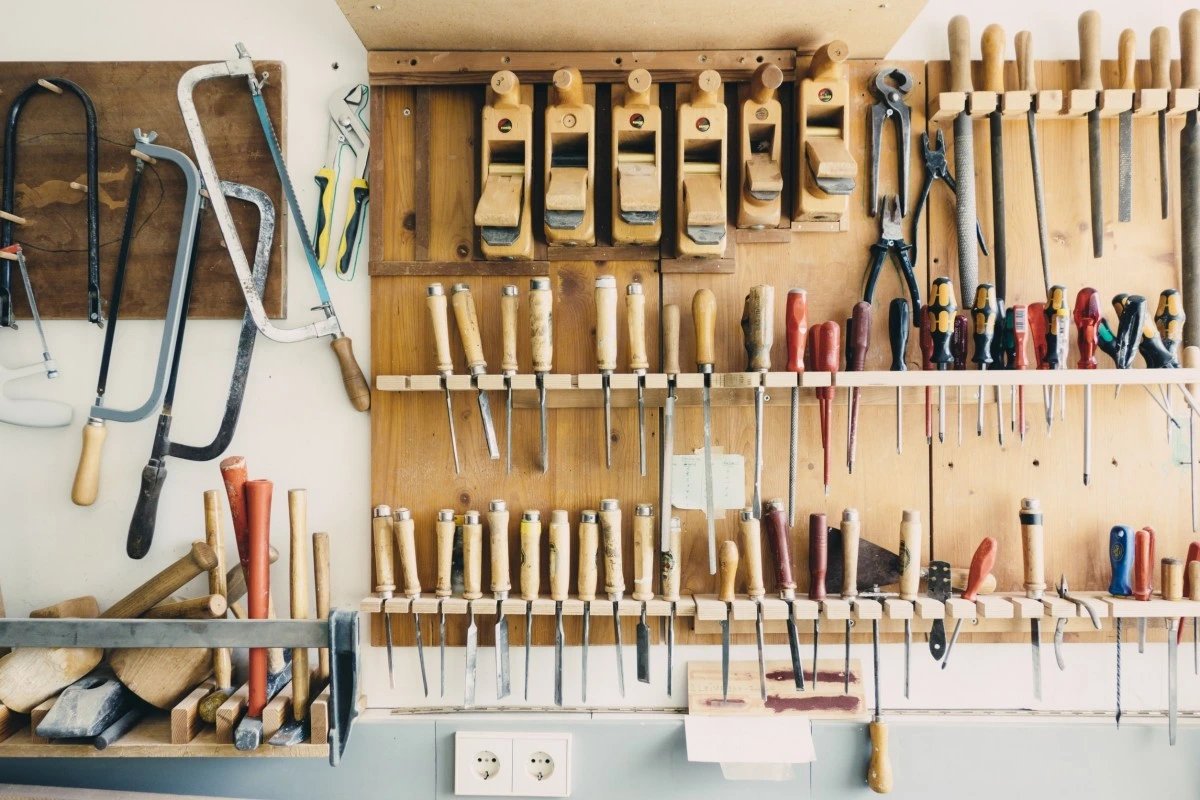
Get your tools off the bench and onto the walls. This is your most valuable real estate.
Pegboard Systems
The first rule of wall storage is “see it, grab it.” If your most-used hand tools are buried in a drawer, you’ve already lost. This is where pegboard shines. It’s infinitely reconfigurable, cheap, and gives you immediate visual access to everything.
Types:
- Standard 1/4”: Good for most hand tools.
- Metal: What I use for heavier items. The cost is justified in pure durability.
- Plastic/Poly: Great for humid shops (garages, basements) where rust is a concern.
Installation: Mount it on 1/2” furring strips, not flat against the wall, so the hooks can engage. And anchor those strips directly to the studs.
French Cleat System
While pegboard is perfect for screwdrivers and hammers, it just can’t handle the heavy stuff. For bulky items like battery charging stations, power tool docks, or custom-built shelves, you need a system that’s as strong as it is flexible.
The concept: You attach a long strip with a 45-degree bevel to the wall, and matching strips to your tool holders. It’s the strongest, most flexible system you can build. I have 20 feet of it, and I can completely reconfigure my power tool wall in 30 minutes.
Shadow Boards
This is the next level. By outlining your tools (paint, foam inserts), you create a “home” for everything. It makes missing tools immediately obvious and enforces the habit of putting things back where they belong.
Cabinet and Drawer Systems
Enclosed storage is crucial for protecting precision instruments from dust, moisture, and accidental bumps.
Cabinet Options
Manufactured Metal: You can’t beat the convenience. They’re ready to go, strong, and standardized. DIY Plywood: This is what I did, but only because I needed specific dimensions. It’s cost-effective, but be warned: it’s a massive time sink.
Drawer Organization
Let’s be honest: an empty drawer is just a flat-surfaced junk collector. Without a system, it will be a mess in a week. The only way to keep precision tools safe and drawers useful is to divide and conquer.
Solutions:
- Foam Inserts: My favorite for expensive tools. It’s a professional shadow board inside your drawer.
- DIY Dividers: A great way to use up thin offcuts.
- Purchased Dividers: The fastest way to get organized.
My rule for drawers: most-used tools in the top drawers, heavy items in the bottom.
Mobile Tool Storage
Wall storage is fantastic, but the project isn’t always at the workbench. I was wasting so much time walking back and forth. The real efficiency gain comes when you bring the tools to the work, not the other way around.
Tool Carts
A professional-grade rolling cart with a work surface and locking drawers is a game-changer. I also built simple DIY mobile bases with heavy-duty locking casters for all my “stationary” tools—my table saw, jointer, and planer. In a small shop, it’s not a luxury; it’s essential.
Project-Specific Tool Boxes
I maintain several pre-assembled kits in portable toolboxes:
- Assembly Kit (glues, clamps, cauls)
- Sharpening Kit (stones, guides, strop)
- Layout Kit (squares, gauges, marking tools)
When I start a project, I grab the kit, not 20 individual tools.
Small Parts Organization
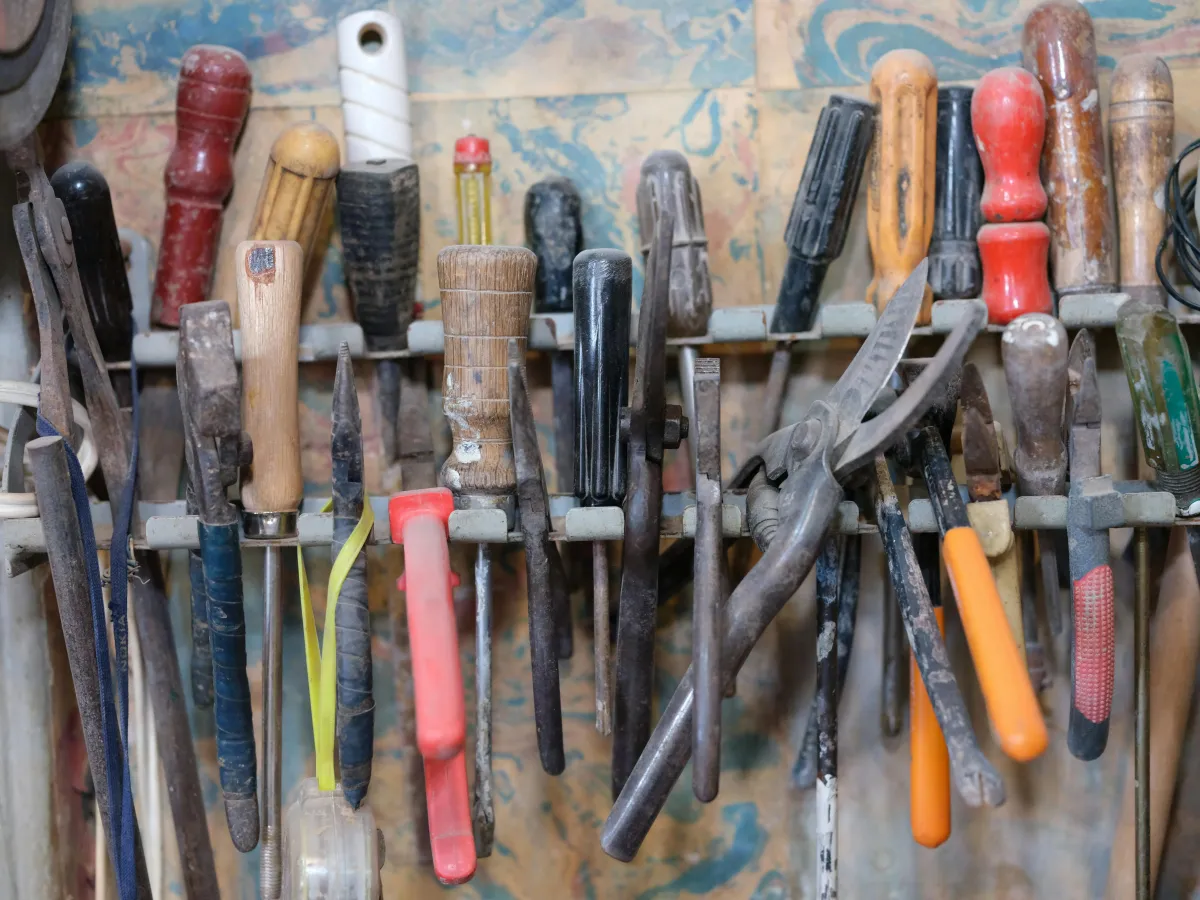
Nothing stops a project dead in its tracks like a 10-minute hunt for one tiny, specific screw. Hardware—all those little fasteners and bits—is the absolute worst culprit for workshop chaos. A “mixed-hardware” jar is a sign of defeat.
Parts Bin Systems
Wall-mounted bins are my choice for frequently-used fasteners. You can see everything at a glance. I use drawer-style organizers for specialty items to protect them from dust.
Labeling Systems
A system without labels is just a guess. I invested $60 in a quality label maker, and it’s one of the best tools I own. I label everything.
Inventory Management
I use a simple “restock line” system. I just draw a line on the bin with a marker. When the parts fall below that line, it goes on the shopping list. This 5-minute habit has saved me countless mid-project trips to the hardware store.
Power Cord Management
Tangled cords aren’t just inefficient; they’re a primary tripping hazard.
Extension Cord Storage
Wall-mounted reels are the gold standard. I have a 25-foot retractable reel at my workbench that I use constantly. For my other cords, I use simple hooks and the “over-under” coiling method to prevent tangling.
Charging Stations
Don’t just have chargers plugged in all over the shop. Create one dedicated “power-up” station. I mounted all my chargers to a single board near an outlet.
Power Strip Placement
I have 7 strategically placed power strips in my shop. A strip should be at your bench, near your machines, and at your assembly area. The cost of installation was paid back in efficiency within a year.
Maintenance Station
An organized shop makes maintenance easy, which in turn extends the life of your tools.
Sharpening Station
This should be a dedicated area, away from dust, with good lighting and access to water. I built a small station with its own water supply, and it turned sharpening from a chore I avoided into a simple 10-minute habit.
Cleaning Station
Have all your supplies in one place: rust prevention spray (like a simple camellia oil), solvents, lubricants, and clean rags. My routine is simple:
- After Use: Wipe down, light oil.
- Weekly: Comprehensive inspection.
- Monthly: Deep clean.
Frequently Asked Questions
How do I start organizing an extremely messy workshop?
Complete cleanout: remove everything, sort (keep, donate, trash), clean empty space, install basic infrastructure (pegboard, shelving), return frequently-used tools first. This zero-based approach takes 2-3 days but creates proper foundation.
What’s the best storage for small workshops?
Maximize vertical storage floor to ceiling. Use overhead storage for lumber and seldom-used items. Implement mobile bases for stationary tools. Create multi-function surfaces. Use French cleats for reconfiguration. Small workshops require ruthless decisions about what to keep.
How much should I spend on organization?
Budget 10-15% of total tool investment. If you have $5,000 in tools, spending $500-750 on organization is appropriate. Start with basic pegboard and shelving ($100-200), then add specialized systems as budget allows.
Should I organize by frequency or by type?
Hybrid approach: organize by type within zones based on frequency. All saws together in the hand tool zone, but most-used saws at chest height.
How do I maintain organization?
One-minute rule: if returning a tool takes less than one minute, do it immediately. End each session with 5-minute cleanup. Weekly 15-minute maintenance. Never leave workshop without returning tools. Discipline is critical.
What about shared workshops?
Shadow boards and labeled storage are essential. Establish clear system with input from all users. Create written protocols. Regular group cleanup sessions. Consider color-coding by user.
How do I organize tools used in multiple locations?
Maintain duplicate sets: one for workshop, one for mobile use. Alternatively, use dedicated mobile boxes. Never borrow from workshop set for outside use.
What storage works best for batteries and chargers?
Create dedicated charging station on heat-resistant surface near outlet. Wall-mount chargers to free counter space. Store batteries by capacity. Label with purchase date. Keep away from extreme temperatures.
Should I organize new workshops differently?
New workshops offer clean-slate opportunity: design infrastructure before moving in tools. Plan layout digitally. Install permanent features first. Existing workshops require phased approach while maintaining functionality.
How do I decide what to keep?
One-year rule: if unused in 12 months, consider selling or donating. Exceptions for specialized infrequent tools or sentimental pieces. Reduce duplicates. Discard broken tools you haven’t repaired in a year.
Conclusion: Organization as a Force Multiplier
Look, I know what you’re thinking. “This all sounds great, but my shop is a disaster and this feels overwhelming.” I get it. I’ve been there. Twice.
Here’s the truth I wish someone had told me: you don’t have to do this all at once. In fact, you shouldn’t. When I did my first complete reorganization, I tried to tackle everything in one weekend. By Sunday night, my shop was somehow more chaotic than when I started, and I was ready to give up.
The second time, I did it smart—one zone at a time. Started with just my hand tools at the workbench. Took about three hours. The difference was immediately obvious. That small win motivated the next zone. Then the next. Within two months, the entire shop was transformed.
The Real Impact: This isn’t just about having a pretty shop (though mine does look pretty good now). The transformation has genuinely changed how I work:
- I’m more productive - Projects that used to take all weekend now finish in a few hours because I’m actually working, not searching.
- I’m less frustrated - Nothing kills motivation like spending 20 minutes looking for a tape measure. Organization eliminates that friction.
- I actually start projects - When everything has a place and cleanup is easy, there’s no psychological barrier to starting work.
- I enjoy being there - My workshop went from a source of stress to a space I genuinely want to spend time in.
The Economics Work: My complete reorganization took about 60 hours spread over three weeks. Know what I’ve saved in the year since? Easily 100+ hours of search time, plus probably $200-300 in damaged tools I didn’t have to replace. The investment paid for itself immediately and keeps paying dividends.
Your Starting Point (Choose Just One):
The 10-Minute Win: Organize one drawer completely using dividers. Experience how good it feels to open that drawer and instantly find what you need.
The Pegboard Project: Install 2-4 feet of pegboard for your most-used hand tools. Shadow board optional but recommended.
The Hardware Sort: Spend one afternoon properly sorting and labeling your fasteners and small parts. This might have the biggest immediate impact.
The Cord Taming: Set up one charging station and install 2-3 cord reels. Eliminating cord chaos is instantly satisfying.
Pick one. Do it this weekend. Experience the difference. Then tackle the next zone when motivation strikes.
The Maintenance Reality: Organization isn’t a one-time project—it’s an ongoing practice. But here’s the secret: once your system is in place, maintenance takes almost no time. I spend maybe 10 minutes at the end of each session putting things away. That’s it. The system maintains itself as long as you stick to the “everything has a home” principle.
Your workshop should serve you, not stress you. Organization isn’t about perfection—it’s about creating a space that makes you more capable, efficient, and satisfied. It’s the foundation that makes everything else possible.
Now go organize one zone. Just one. You’ll be amazed at the difference.
About the Author: A professional woodworker for over 30 years, our expert has designed and built three complete workshop spaces, learning what works through extensive trial, error, and evolution. His organized workshop has been featured in woodworking magazines and serves as a model for efficiency-focused shop design.